 Click to call

How to Replace Vinyl Flooring the Right Way
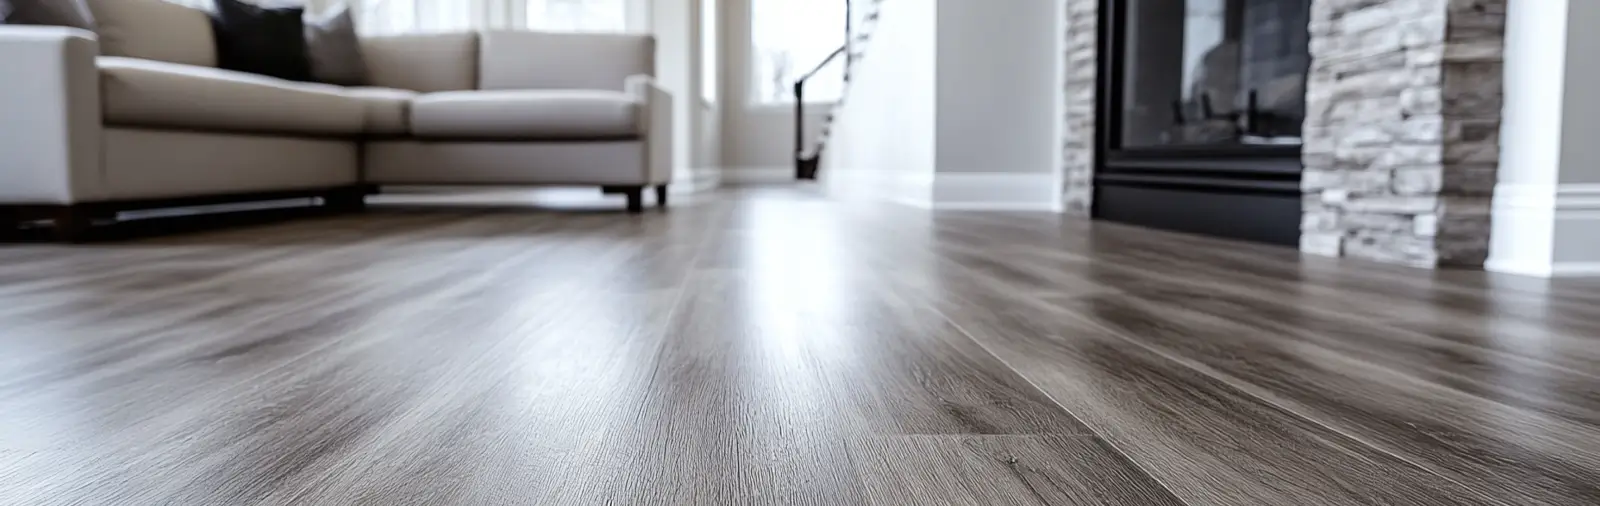
Thinking about replacing your old floors with vinyl plank flooring? While vinyl plank flooring is an affordable and stylish choice for homeowners looking to update their space, installing it correctly can be a complex process that requires precision. If you’re considering doing it yourself, follow these steps for a successful installation. But remember, while DIY can work for some, it’s always a good idea to consider professional help to ensure the job is done right.
Tools and Materials You'll Need to Replace Vinyl Flooring
Before you begin, you’ll need to gather all the necessary tools and materials for the job. Here’s a checklist of what you’ll need for a vinyl plank flooring installation:
- Measuring tape
- Utility knife or vinyl cutter
- Straight edge or T-Square
- A level
- Safety gear: gloves, knee pads, and safety glasses
- Flooring plank spacers
- Pry bar and tapping block
- Rubber mallet
- Caulk and caulking gun
- Heat gun or hair dryer (if necessary)
- Transition strips, threshold, or molding
If you have chosen to install glue-down planks, you’ll also need a notched trowel, roller, and adhesive or double-sided tape. Which type of adhesive your vinyl needs will depend on the manufacturer, so be sure to check the box for information or contact a flooring expert.
Depending on the condition or subfloor type, you might also need an underlayment for additional insulation and cushioning. All of these materials are important when learning how to install vinyl plank flooring.
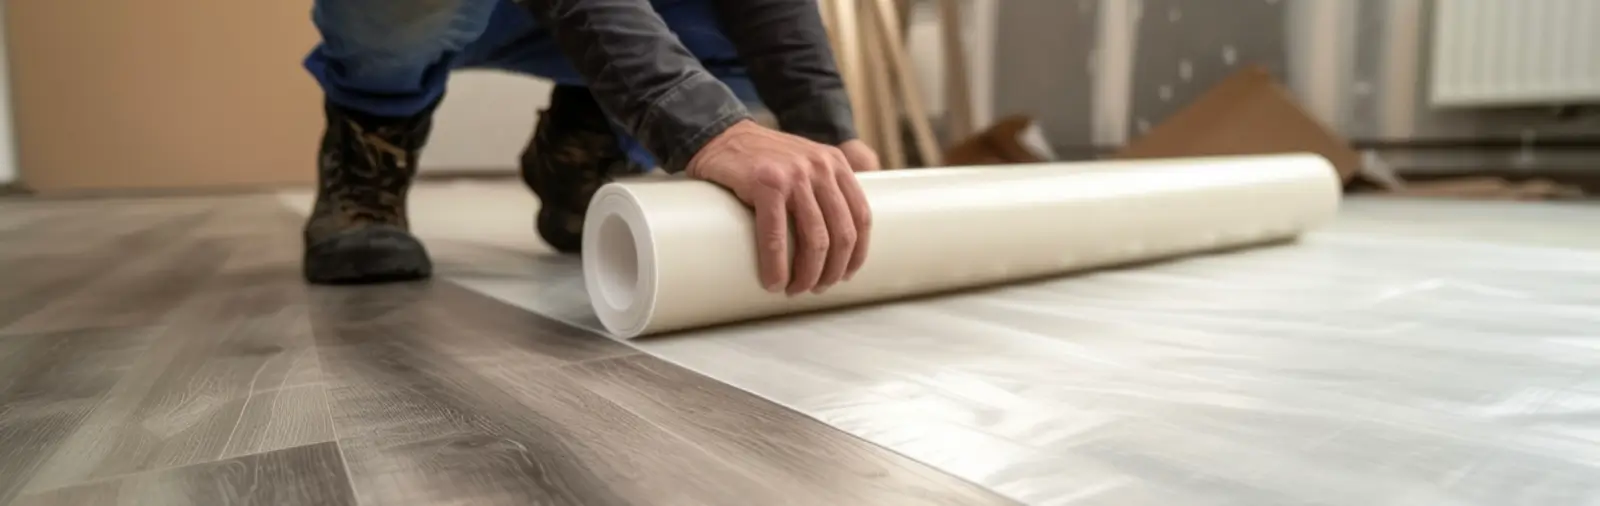
How to Prep the Floor
Prepping your floor properly is one of the most critical steps in the installation process. Start by removing any existing flooring—this includes carpet, hardwood, old vinyl, or linoleum.
After removing the old floor, clean the subfloor thoroughly. You’ll need to get rid of any dust, oils, grime, paint, or adhesive. If you encounter particularly stubborn spots, use a sander to remove them, but be sure to wear a mask and goggles to protect yourself from dust.
Once cleaned, inspect the subfloor for imperfections. Any cracks or uneven areas should be fixed before you begin installing your new vinyl planks. A smooth, clean, and level subfloor ensures that the vinyl will adhere properly and look seamless.
How To Estimate the Amount of Vinyl Plank Needed
To calculate how much vinyl plank flooring you'll need, measure the length and width of your room. For more complex spaces with obstacles like alcoves, be sure to take extra measurements.
Add 10-15% to your measurement to account for mistakes, waste, and pattern matching. It’s always a good idea to purchase an underlayment for added comfort, soundproofing, and protection. Some vinyl planks come with an underlayment attached, but if yours don’t, be sure to purchase it separately.
Installing Vinyl Plank Flooring: The Step-by-Step Process
Installing vinyl plank flooring requires careful planning and precise execution. Follow these steps to ensure a smooth and professional-looking result.

Step 1: Acclimate the Vinyl Planks
Before you start installing, take the vinyl planks out of their boxes and let them acclimate to the room’s temperature and humidity for at least 24 hours. This will prevent any issues with expansion or contraction after installation.
Step 2: Plan the Layout
Plan your layout carefully before gluing anything down. Start by placing spacers along the walls to create an expansion gap—this is important to prevent the planks from buckling.
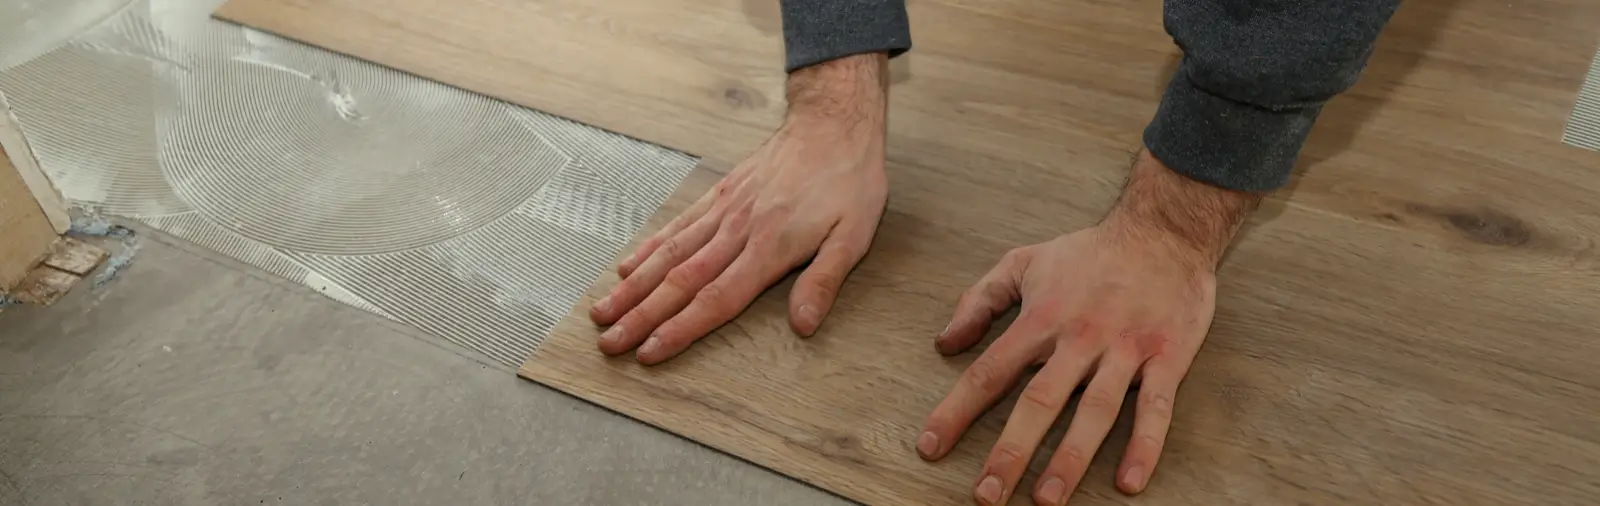
Step 3: Start the First Row of Planks
For glue-down planks, apply the adhesive to the subfloor and press the first plank in place, groove side facing the wall. Use a rubber mallet to tap it gently into place. If you're using floating planks, peel off the adhesive backing and lay them down. Work row by row, fitting the planks together with a tapping block.
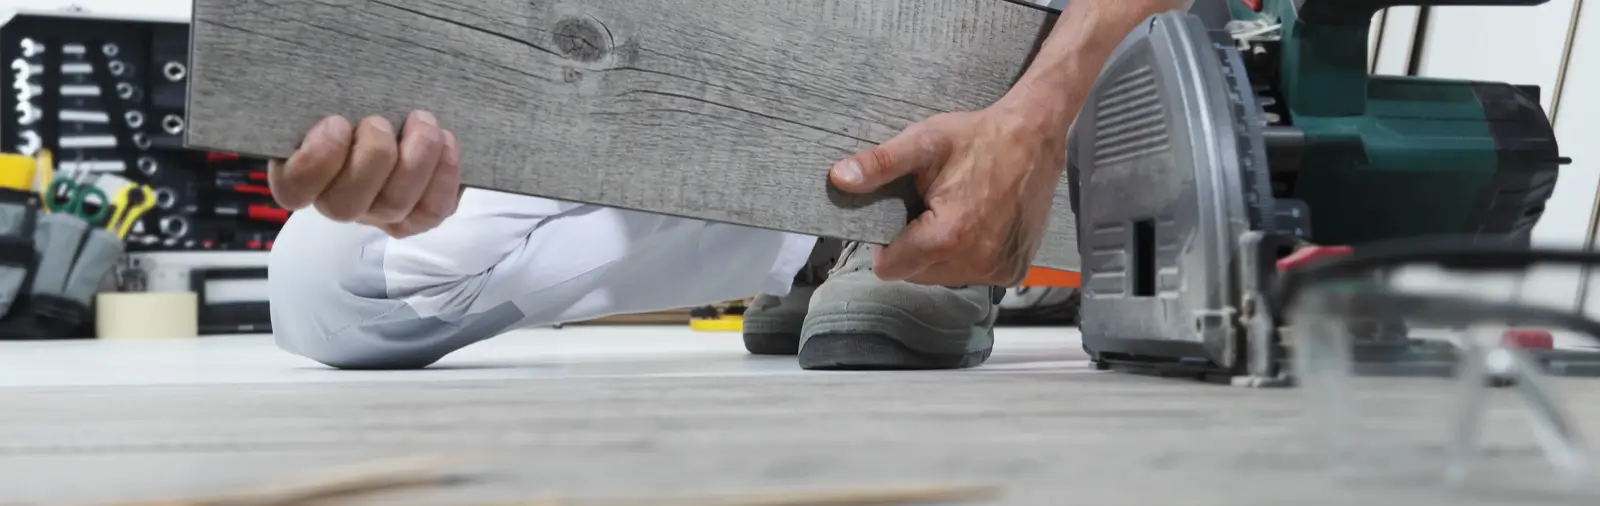
Step 5: Cut Planks to Fit
When you reach the end of a row, you may need to cut the last plank to fit. Use a utility knife or vinyl cutter to trim the planks to the correct size. Make sure to measure carefully before cutting to avoid any mistakes.
Finishing Touches
Once the planks are installed, it’s time for the finishing touches:
- Install transition strips at doorways or where the new vinyl flooring meets other flooring types.
- Remove the spacers.
- Clean the floor thoroughly to remove dust and debris.
- Let the floor cure for at least 24 hours before heavy use.
Enjoy Your New Vinyl Plank Flooring!
While installing vinyl plank flooring can certainly improve the look of your home, it’s a big project that requires time, attention to detail, and some experience with home improvement tasks. Now that you know how to replace vinyl flooring, you're likely feeling a little unsure about tackling this project yourself, or you may just prefer a flawless, professional finish. Consider calling in the experts.
Get Professional Help for Your Vinyl Flooring Installation Today
The skilled service professionals at Mr. Handyman® are ready to help with your vinyl flooring installation. We’ll ensure a smooth, seamless result, whether you're updating a small room or installing vinyl flooring throughout your entire home. All of our services are backed by the Neighborly Done Right Promise™, so you can trust that your flooring installation will be completed correctly and efficiently.
Don’t risk the hassle and uncertainty of a DIY project—request service today and let Mr. Handyman take care of your flooring installation needs!
This article is intended for general informational purposes only and may not be applicable to every situation. You are responsible for determining the proper course of action for your home and property. Mr. Handyman is not responsible for any damages that occur as a result of this blog content or your actions. For the most accurate guidance, contact your local Mr. Handyman location for a comprehensive, on-site assessment.